Update 2014 This was originally written in 2004 or 2005.
Originally, when HRS told us we should use Nimbus between our components and the HRS Isolation Bases, and that it helped the sound quite a bit because it helped provide a sink for chassis borne vibrations to be channeled into the large mass of the base. We were like ‘yeah. Right. Suuuuure it does.
I mean, weren’t gear manufacturers telling us about how they put so much effort in choosing the exact right feet for their gear, some even designing special feet for their gear, that their feet were the best possible feet ever for their gear?
So we played a lot with HRS Damping Plates, putting them on top of lots of things, but ignored the Nimbus. Completely.
For years we ignored them.
But one day we didn’t.
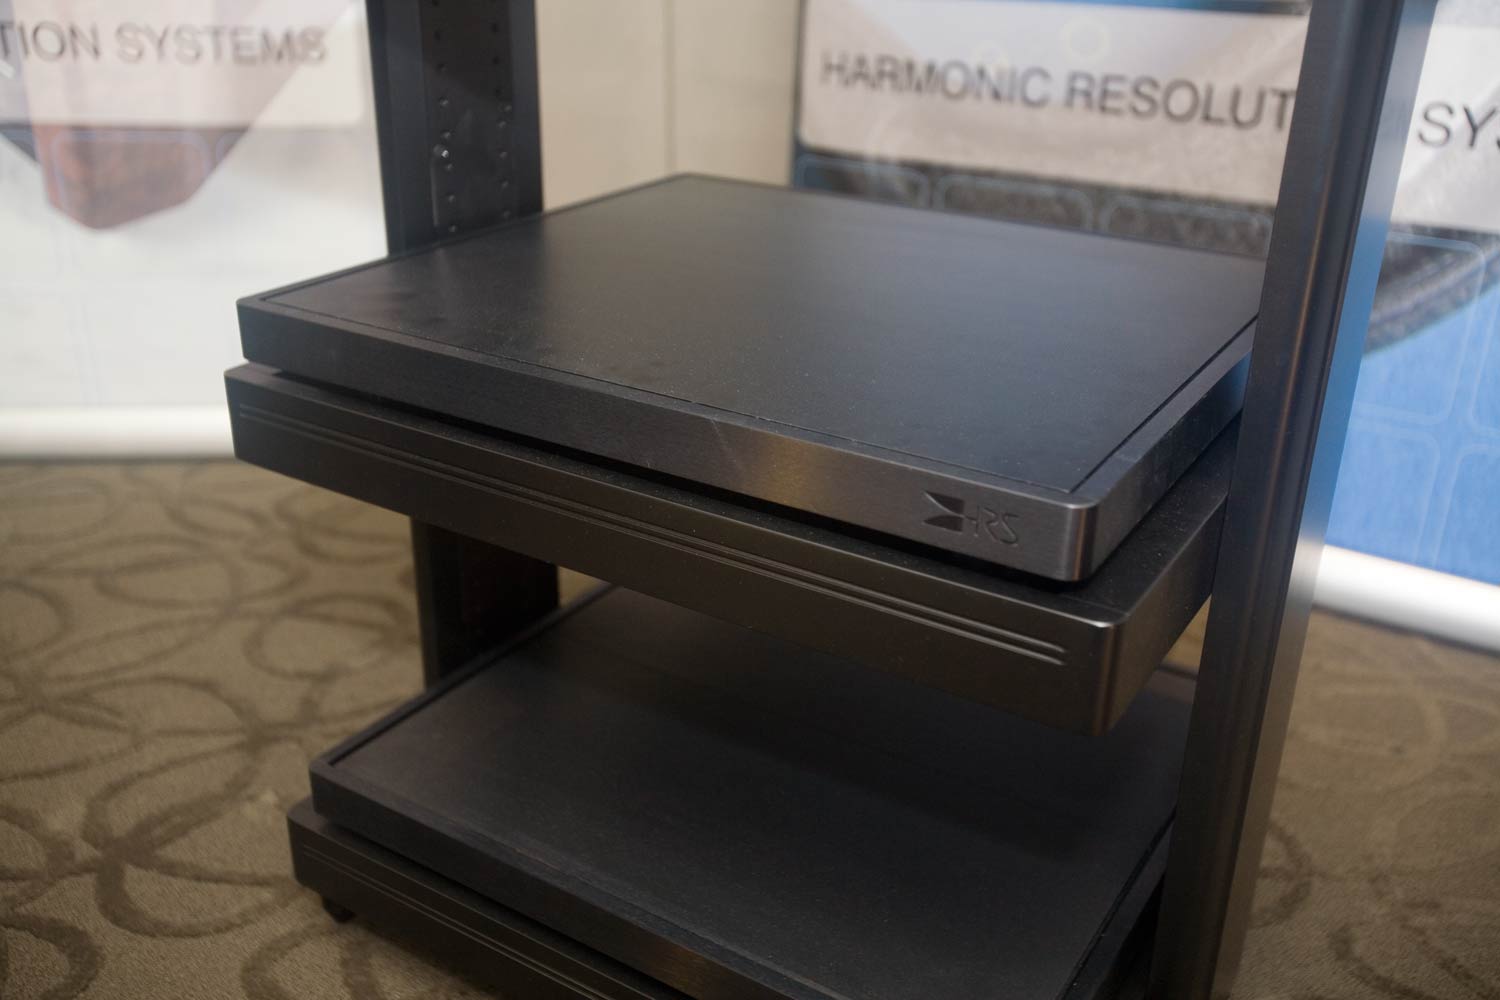
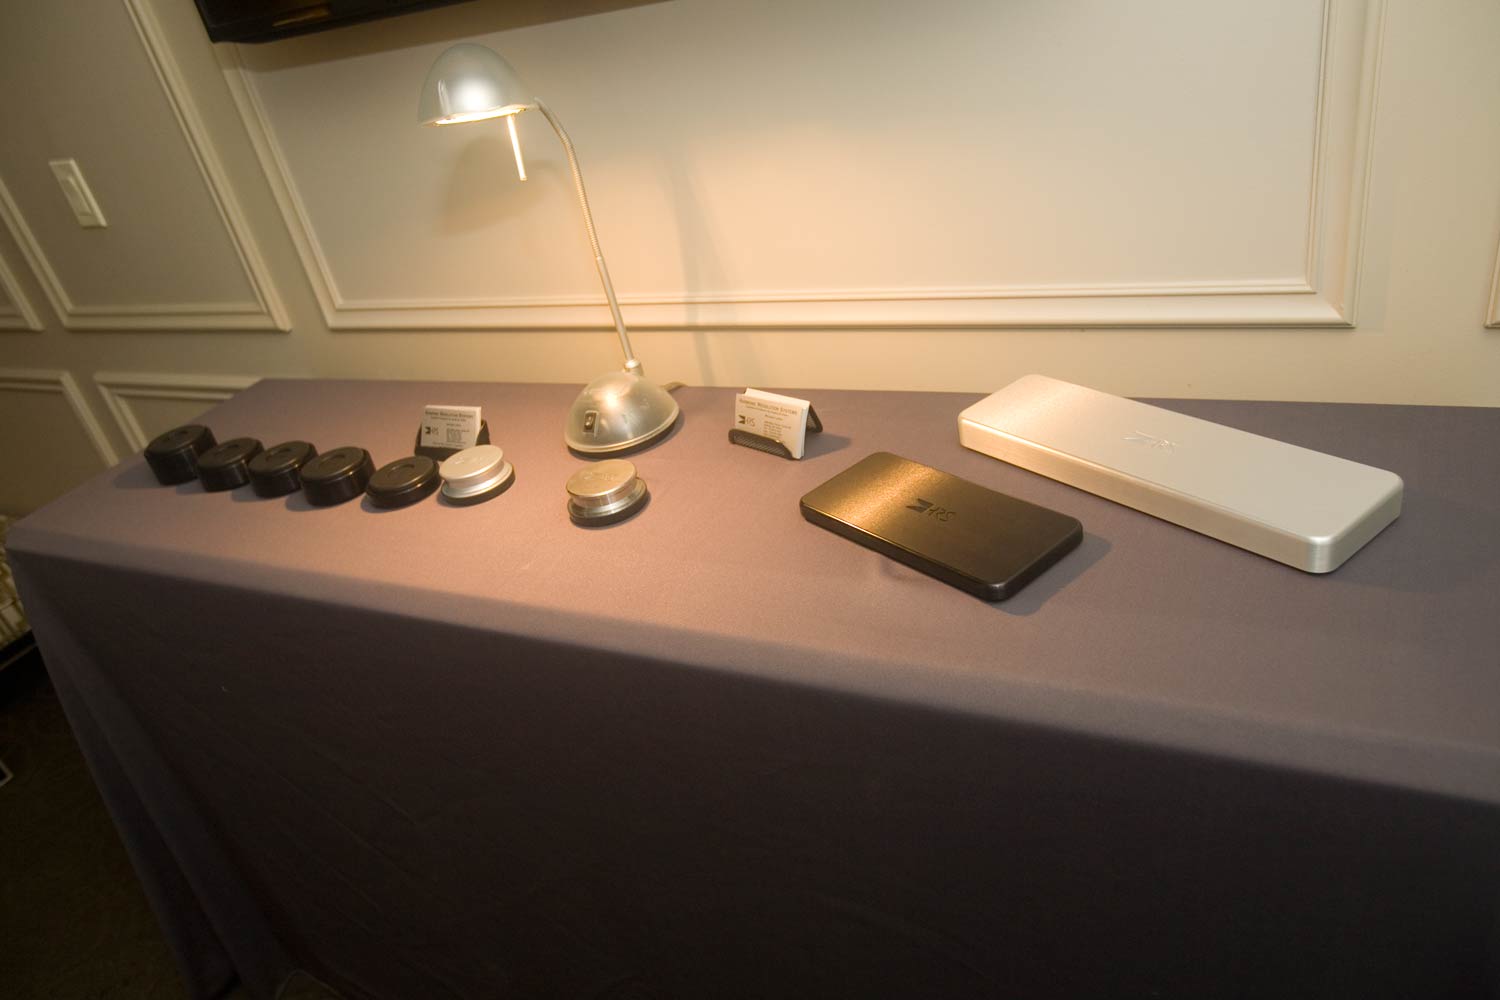
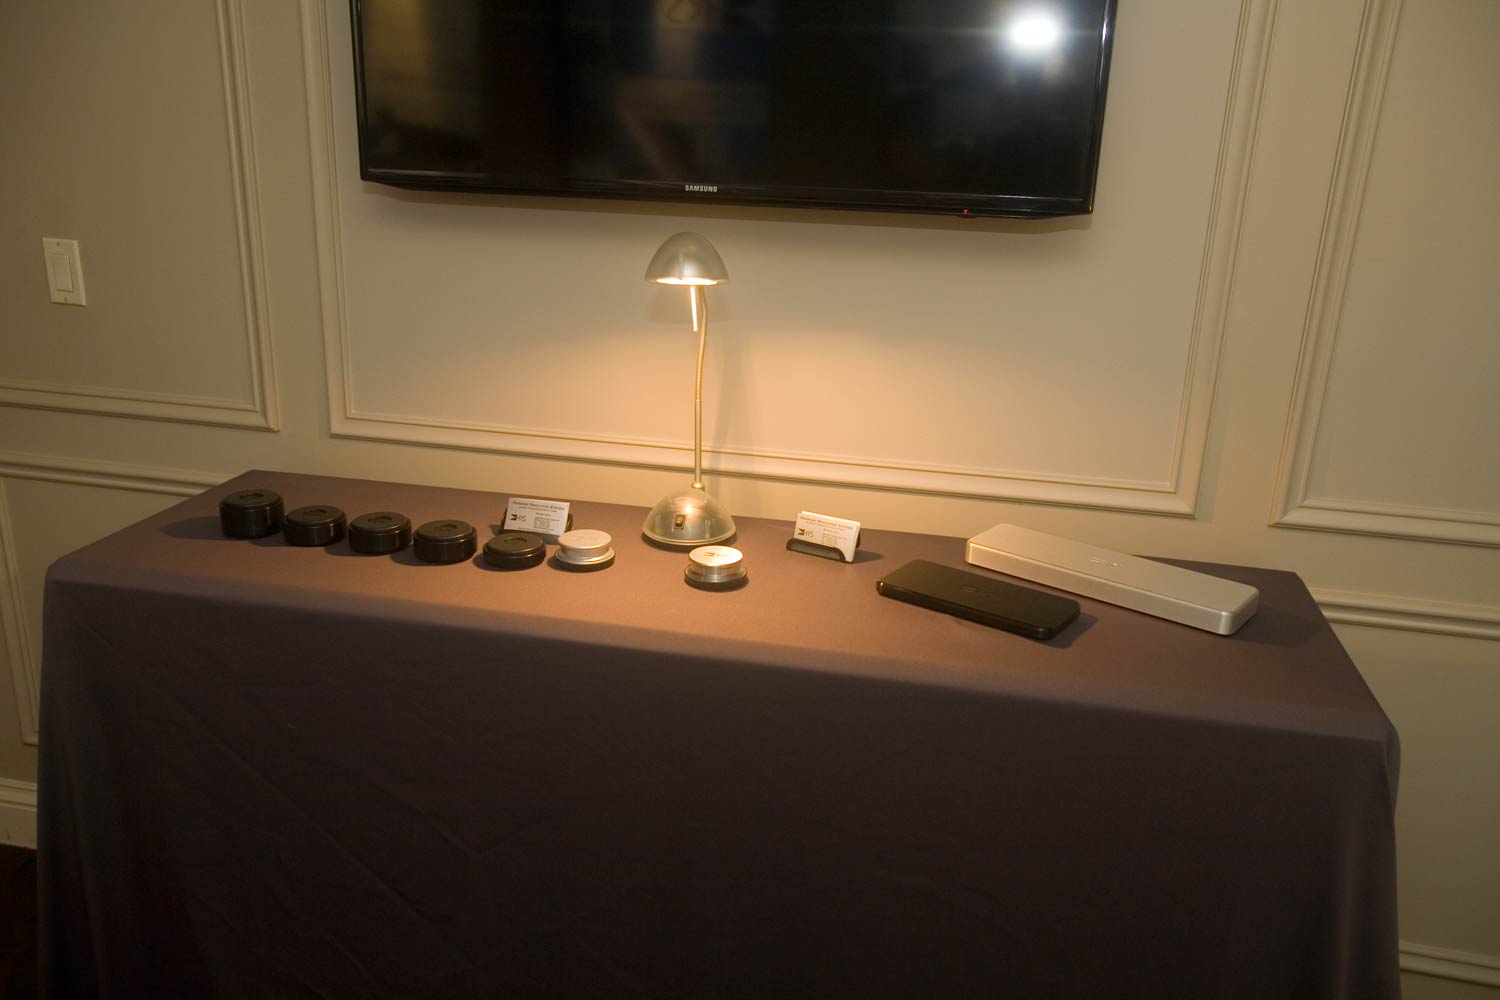
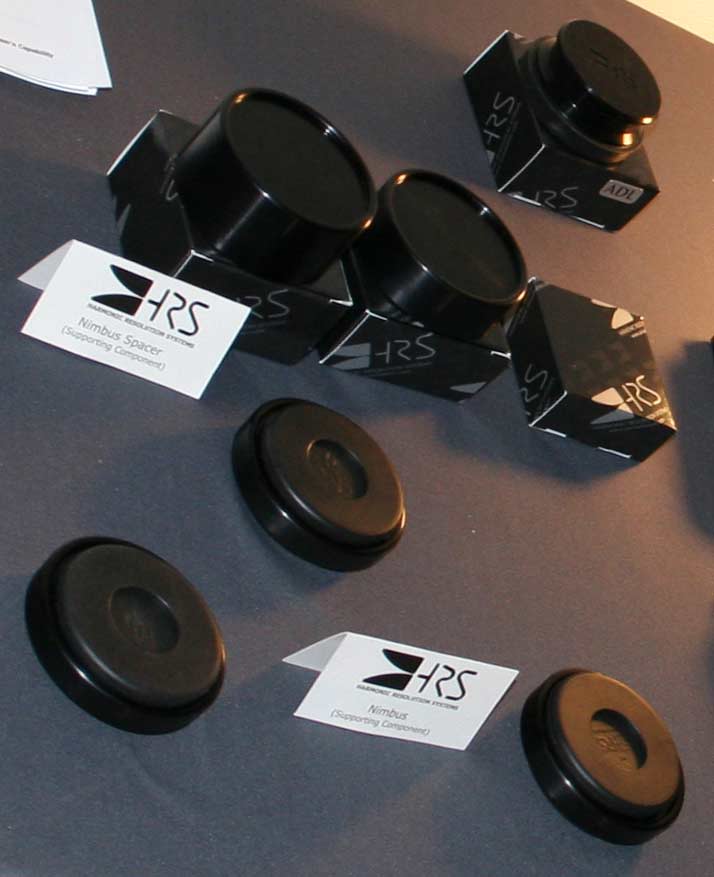
For a modest amount of money, $300 to $400, you get a set of three HRS Nimbus Spacer + Couplers feet, which experience has shown adds 30% to 70% improvement to the sound, in kind with what the $2000+ HRS Isolation Base under the component added.
And, except for the Audio Note M9 preamp [which has gazillion screws in the bottom of the chassis], it is simple as pie to slap 3 of these under a component and get a predictable, repeatable improvement in the sound.
We never looked back. Now everything is on Nimbus. Always.
CD Players, Transports, DACs
Audio Aero Prestige
The Audio Aero Prestige CD / SACD Player with built-in preamplifier has both a moving mechanical device (the transport) and a vacuum tube – both of which are known to be sensitive to the dehabilitating effects of harmful vibrations. The Prestige comes from the factory with 3 black diamond racing cones as feet – a tribute to the fact that the factory also pays attention to vibration control.
As we broke in the Prestige and listened to it improve day-by-day, we noticed a little but of an overhang, a little smearing of the notes together. Yes, we thought it could be just a little more tube-like sound than we expected, but after living with the EMM Labs / Meitner in the system for a year or so, we had grown used to a more accurate sound, a more delineated soundstage, and a little more detail with our music.
As the weeks went on, the kind of dim and aging light bulb over our heads flickered on and we thought “Hey, aren’t these symptoms we are hearing are awfully familiar, kind of like exactly similar to those associated with vibrations interfering with the equipment? Oh, and, wow, the Prestige is sitting out in front of the 6 feet tall woofers of our speakers, too….”. And then our light bulbs flickered out again.
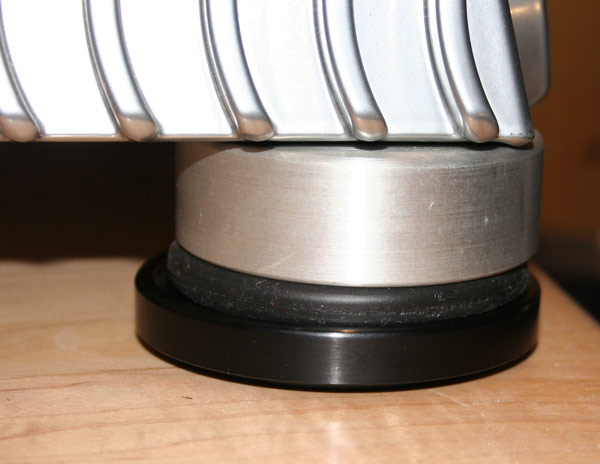
But, putting their brief appearance to best use, we decided to use some Nimbuses instead of the Black Diamond Racing cones underneath the Prestige in order to better couple the player to the HRS M3 Isolation Base platform.
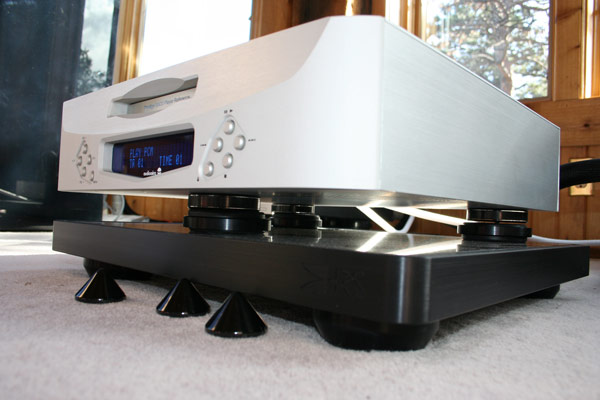
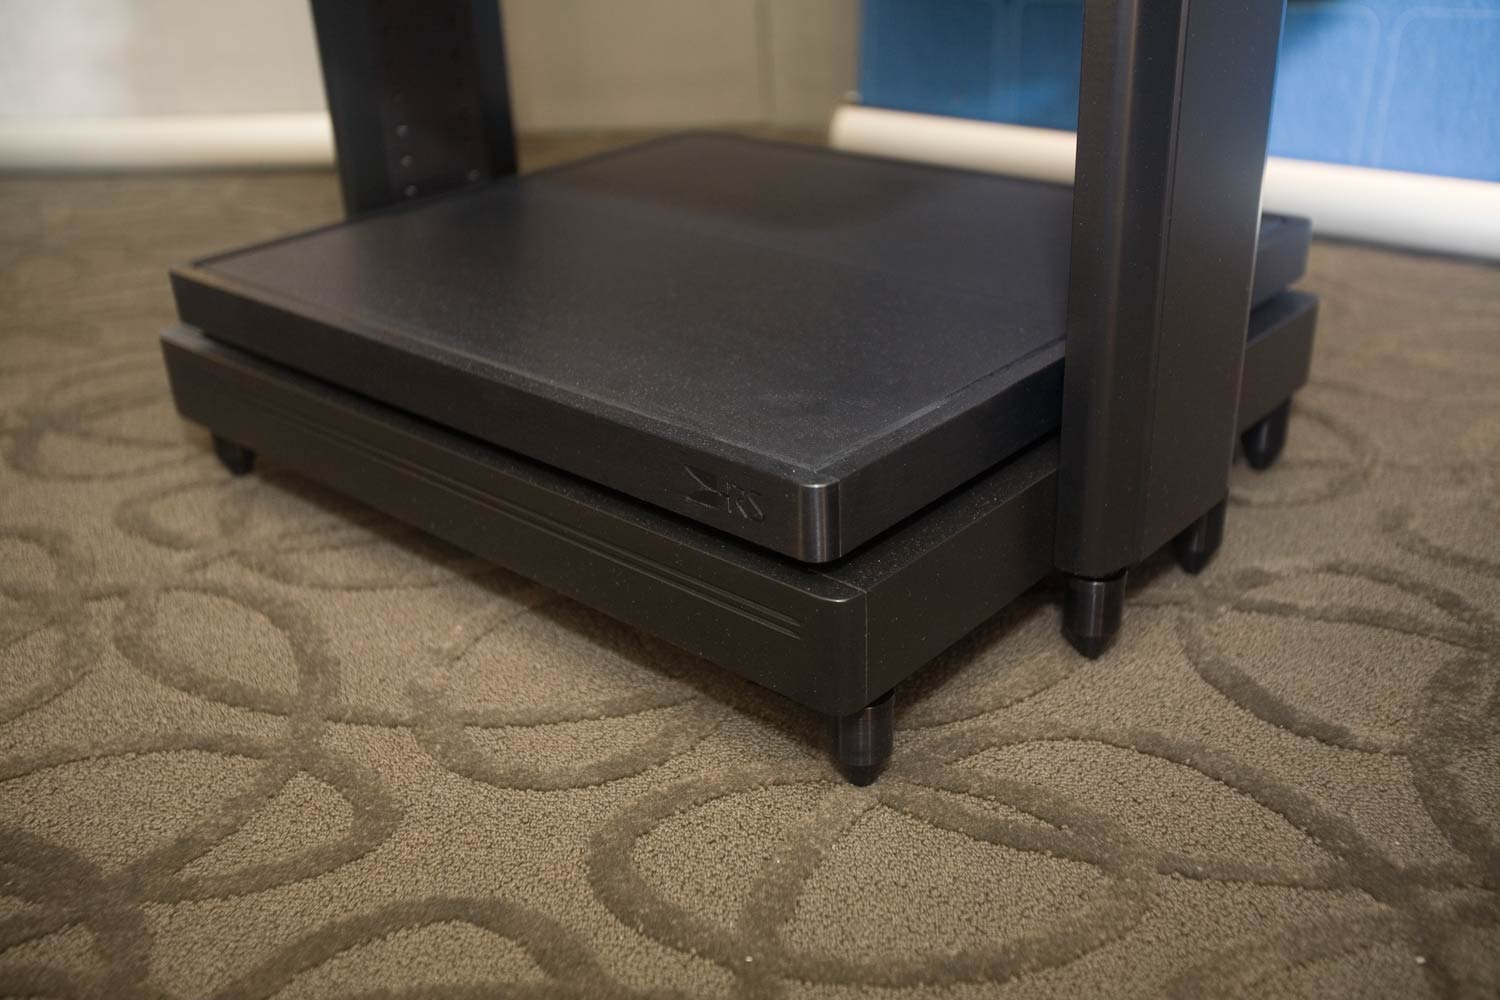
Here we have removed the cones and put the Nimbuses underneath the player, in the same positions where the cones had been – letting the heads of the screws that were still in place dent the Nimbuses.
The sound was radically changed for the better. The differences in the sonics between the 50% more expensive solid-state Meitner digital and the tube-based Prestige now became almost completely one of that between different design goals and choices. The Meitner: purity and transparency, the Prestige: analog-like dynamics and harmonics.
Obviously, letting the screw heads sit on the Nimbuses was kind of a kludge, so we later used double height Nimbuses, and positioned them under parts of the player different than that where the original feet were installed.
Here we see the a picture of this configuration. Noticed that we reattached the Black Diamond Racing cones so that Mike would not lose them in the sometime mess that visits our house once in a while.
We also have another blog post on our experiences with the HRS Nimbuses and the Prestige.
Preamplifiers
Lamm L2 Reference Linestage tube power supply
There was a clarity and purity added with three of these under the L2 power supply – much better than a number of different cones we have tried. There was also an improvement in the depth and tonality of the bass.
Amplifiers
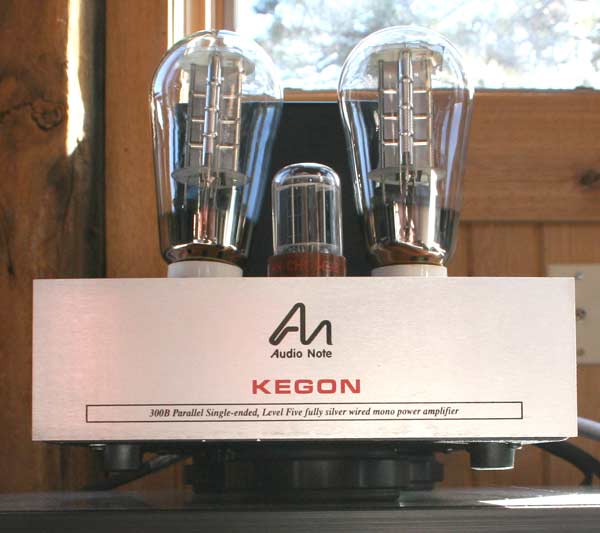
Audio Note U.K. Kegon monoblocks
The 300B Kegon amplifiers benefited from the M3 Isolation Base, but not as much as we had anticipated or hoped for. It was then that we noticed that our Kegons, which are old and have been shipped all over the country and auditioned by many dealers and audiophiles, were ….wobbly. They rested on only 3 of the sweet little feet thingies.
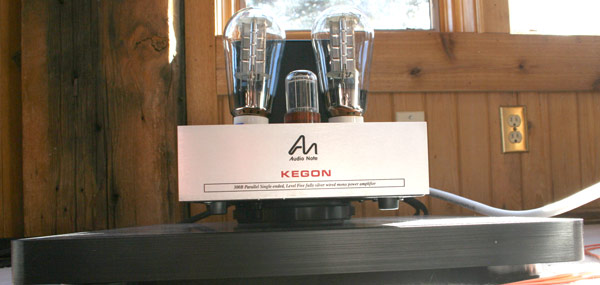
So, what to do, what to do. Well, you can see what we did, we added 3 nimbuses under each Kegon (it looks like only two here, I know, but we have one under the front and two, side-by-side under the back. Bamm. That did it. Everything was tighter. The Kegons always grip the speaker with an iron (or is it silver) fist, but now there was much more space between the notes. The decay of each note was more precise and did not linger.
It was the significance of this result, the great improvement after putting the nimbuses between the HRS M3 and the amplifier, that prompted us to try the same thing under the Lamm ML2.1 amplifiers and the Audio Aero Prestige CD/SACD player – on which, it turned out, there was an even greater impact (to which I attribute the fact that the Kegons were already doing a pretty darn good job at the things that unwanted vibrations traditionally degrade).
[Update 2014] Lamm ML2 monoblocks, Lamm ML3 monoblocks, Audio Note Ongaku, Gaku-On, etc.
10 years later we put Nimbus under everything when we have them – and we have them about 98% of the time [sometimes Neli will send some out on demo, and not tell me… until I go hunting for another set and they are nowhere to be found. Audiophile wives. Huh.].
EDGE NL Reference amplifiers
We first came up with putting Nimbuses under the Reference ‘pyramid’ amps at the high-end audio show in Denver, RMAF 2005. Always on the lookout to eek every last bit of performance out of each component – the sputtering light bulbs, yes,, the same ones referred to earlier, above our heads were able to convince us to try this tweak and see if it helped any.
What it did was to even out the frequency response some. There was a little hump in the upper bass and a corresponding depression in the low mids and they seemed to even out some – and in the very large, undampened room at the show, this helped calm down the overall presentation of the music some which , of course, is always appreciated at a show.
Interestingly, at the show we only had 7 Nimbuses so one amp went limping…
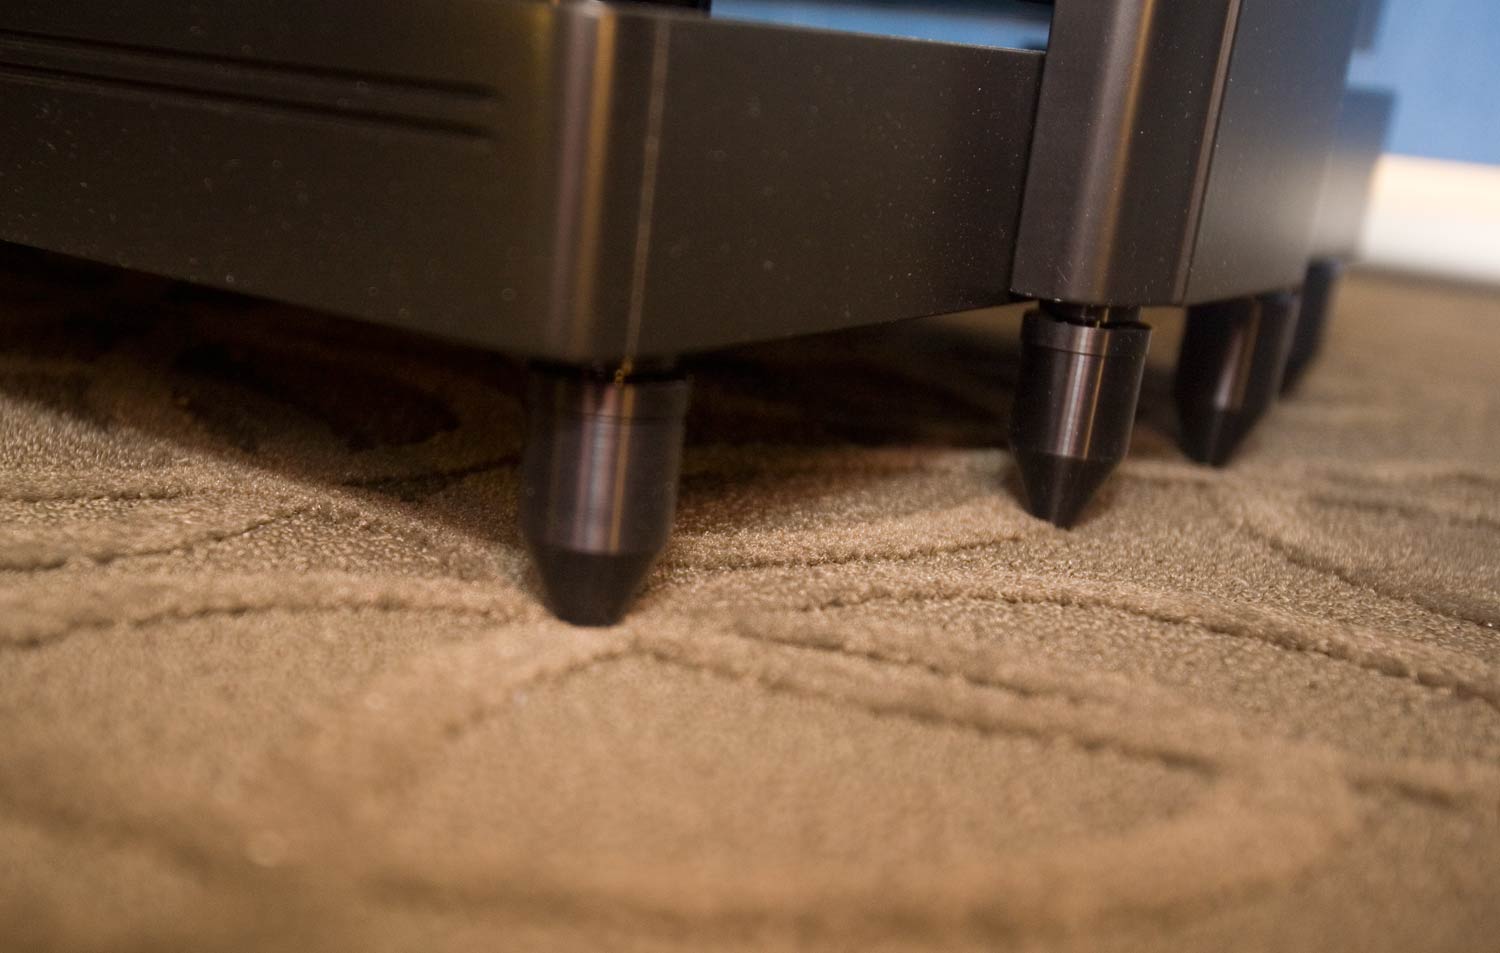
Here we see an example. Most of the other feet are more centered on their Nimbus, but we haven’t noticed any ill effects with this being slightly off center. Then again we haven’t tried moving it so that it is completely on center and seeing what it sounds like either. At 220 lbs., we run out of steam after ana mazing short amount of time when it comes to doing something that requires moving them around in any way.
We also have a blog entry on our experiences with the HRS Nimbuses and the Edge NL Reference amplifiers.