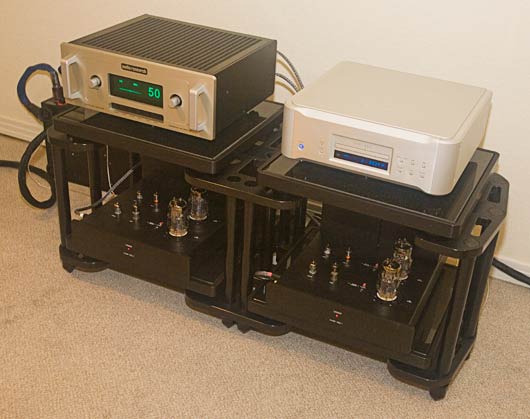
The happy owner of a new HRS SXR equipment rack wanted to change the height of the first shelf of the rack, from 10 inches to 12 inches, so that he could put his Lamm ML2.1 amps on the bottom shelf.
So we ordered up some new posts and went over to swap out the 10″‘ers for the 12″‘ers. I brought my camera.
A lot of photos but this whole procedure only took about a half hour, though I did forget to time it… so I could be off by a bit [i.e. don’t feel bad if it takes you longer, and if you do it faster? The heck with you :-)].
These racks are like audiophile erector sets: you can, by screwing and unscrewing posts, make them taller, wider (single-wide, double-wide, triple-wide and on and on), add more shelves [we’ve only seen them go as high as 4 shelves, but…they go down to 1-shelf which is amp-stand height. In fact single-wide 1-shelf tall SXR racks are exactly that: amp stands. Everything is interchangeable, and everything is so tightly spec’d, it just all works, no matter what your assortment of pieces parts is].

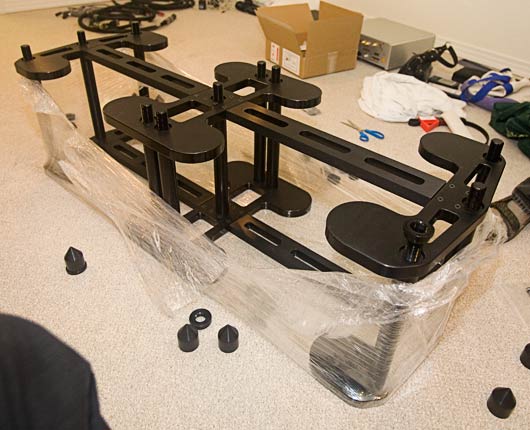
We turned the rack upside down and removed the screw on spikes.

Next we remove the nuts that hold on the bottom shelf. Here we are using the wrench that comes with the SXR to loosen a nut.

Once they are loosened, once anything is loosened, the precision construction allows us to just use our fingers and spin the nuts up off of the post [this is actually quite fun, just make sure you slow down when the nut nears the top of the post so it doesn’t go flying :-)].

Next remove the special polymer washers. The polymer used by these washers appear to be similar to the polymers used in the feet of the HRS platforms and in the Nimbus Couplers [soft hockey-puck-like things that go under a component chassis to control nastiness-causing brightness-causing blumpy-bass-causing vibrations – it consistently works really really well unlike everything else we and our friends and customers have tried]

Lifting the bottom shelf off the upside-down SXR rack
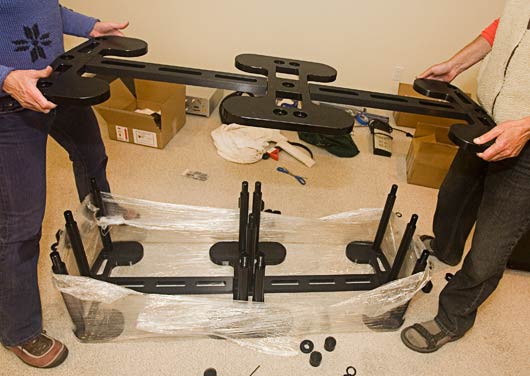
No, it is not all that heavy, per se, but the tolerances are tight enough that you have to lift it STRAIGHT up.
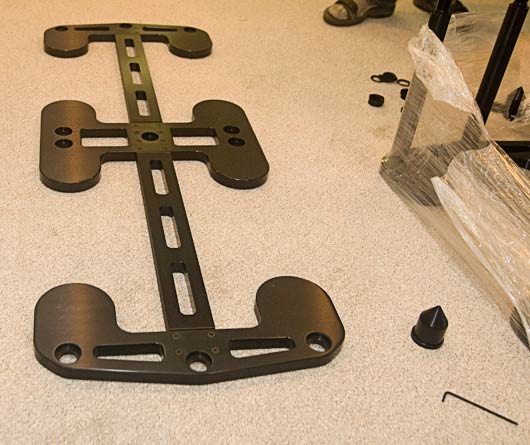
Put the bottom shelf to one side…

Next is to remove the posts that connect the bottom shelves to the, in this case, top shelf of this two-self rack.

This orange doohickey wrench thing is a really cool thing:
1. It allows up to loosen the posts which are screwed on tighter than finger tight
2. It will not mar the posts in any way
3. It allows is to tighten the posts exactly the right amount, acting as a torque wrench [if you try and tighten the post too much, it will start to slip… i.e. the coefficient of friction of the rubbery material of the wrench is just perfect to allow us to tighten the posts p-e-r-f-e-c-t-l-y].
These are bigger than the wrench that was shipped with the early racks, and, along with the bright orange color you would think we would not possibly misplace it. Yeah, you would think that [we did find it but it took a minute of looking – and I do NOT remember it being underneath my chair that I spent most of this process lounging around in ;-)]

I went around and loosened all the posts. Here Neli was being fancy and unscrewing 2 at once.

All the posts have been removed.

These bolts sticking out of the shelf are the same as the bolts on the end of the posts. Everything works with everything else because of these kinds of consistencies and extreme attention to detail.

Screw the new [taller in this case] posts on the upside-down top shelf.

Next put a tiny amount of oil on the threads of the new posts so that everything goes together silky smooth [seems to work :-)]

All the posts have been screwed on.

The bottom shelf has been alley-ooped back on the rack…
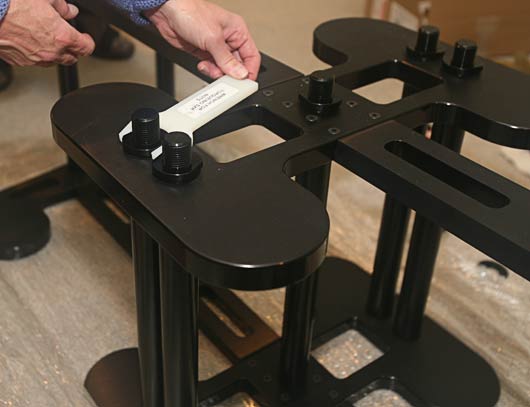
After putting the polymer washers back on, we put the nuts back on with Neli then tightening the nuts with the special wrench [again, a lot of manly spinning of the nuts onto the posts like they were tops on strings or something. Great manly-man fun :-)]

After we screwed the spikes on to the posts.

Ta da!
Because the floor was actually flat here, unlike our built-by-guys-on-drugs mid-70s home, the rack was perfectly level and there was no need to adjust the spiked feet to level the rack.
Took about a half hour I think, with most of the time spent by Phil and I unwrapping the new posts and re-wrapping the old posts in packing material sufficient [forgot to take photos! :-(] to guard against…well….
You know, after WWIII and we are all dust and after the radioactive wastes cool down, our 6-eyed descendents will have some kick-ass equipment racks to play around with.

